Microsoft had enhanced the file upload control and introduced a new feature of multi-fileupload. This feature is really awesome and saves hours of work which most of programmers were doing in creation of custom/user control for the same.
This new feature was introduced to make the programmers life easier with HTML5 support. Your HTML document is now by default in HTML5.
If you set "AllowedMultiple" property of FileUpload control to true, then it enables the control to hold multiple files.
In this post, we are just going to have a look at this control with help of a sample demo application.
Steps:
1) Add a FileUpload control on the aspx page and set the AllowMultiple property to true

2) Add a Button control to upload the files on the server

3) Write code at code-behind cs file where we will (i) Iterate through each file which our FileUpload control holds and (i) save these files onto the target location/folder.
protected void uploadFile_Click(object sender, EventArgs e)
{
if (multipleFile.HasFiles)
{
string filenameWithPath = string.Empty;
foreach (HttpPostedFile uploadedFile in multipleFile.PostedFiles)
{
filenameWithPath = System.IO.Path.Combine(Server.MapPath("~/Uploads/")
,uploadedFile.FileName);
uploadedFile.SaveAs( filenameWithPath );
ltStatusText.Text += "File-<b>" + uploadedFile.FileName +
"</b> uploaded successfully.<br>";
}
}
}

Just for the safer side, first check that if UploadControl has any files or not. This is just double check as you may have written some javascript to validate it client-side.
Thats it! Now run the application :)

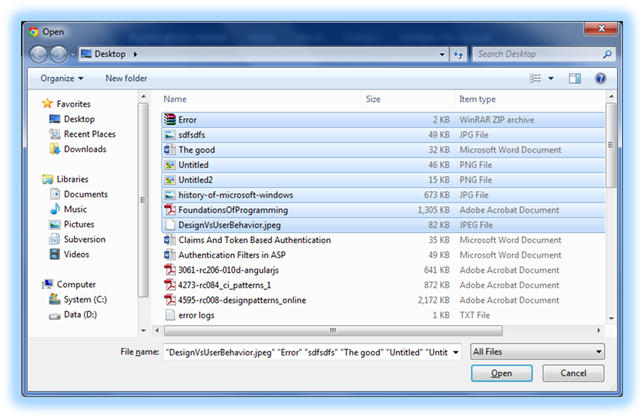
Let's select 3-4 files.

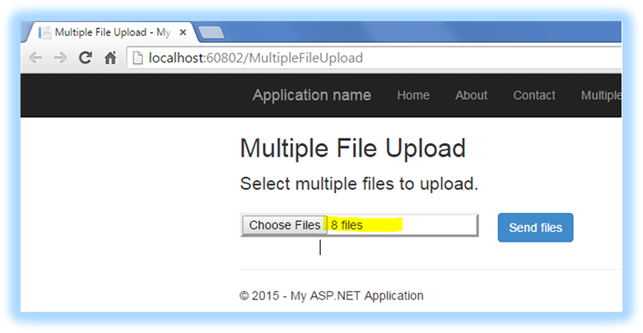
After selecting files, click on Open button.

Now, we are all ready to put these files onto the server, so let's click on the “Send Files” button.

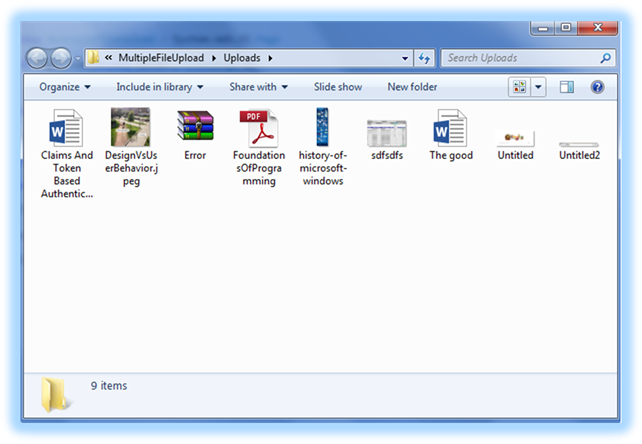
Great! It has uploaded our files on the server. Let's check it in the Windows Explorer if they are really there!

Cheers!!